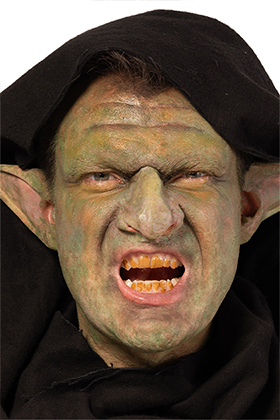
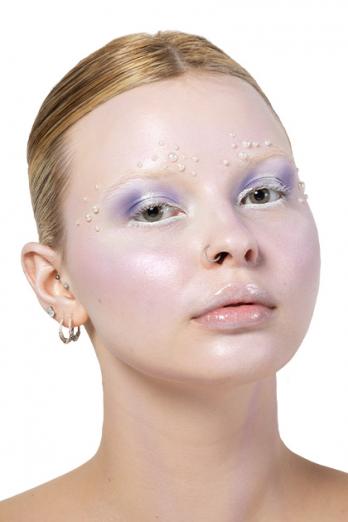
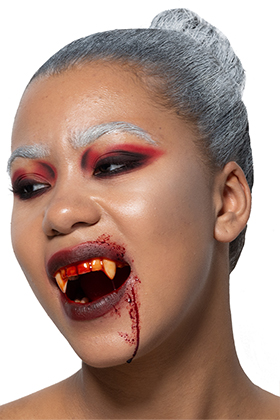
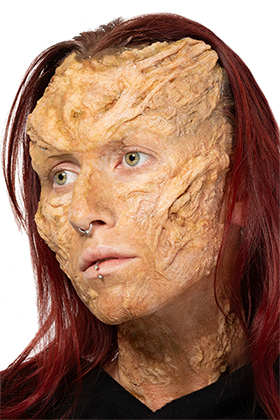
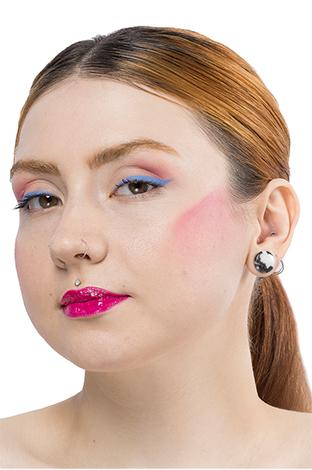
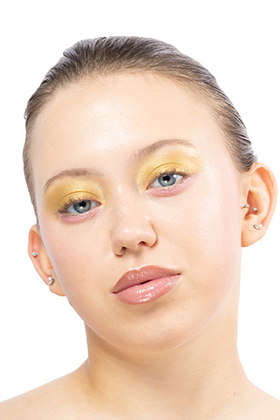
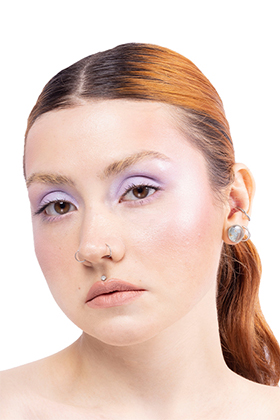
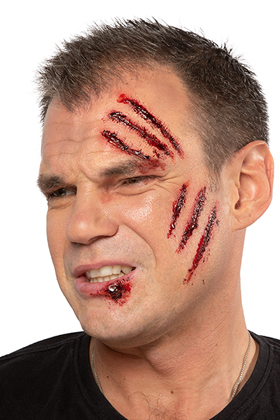
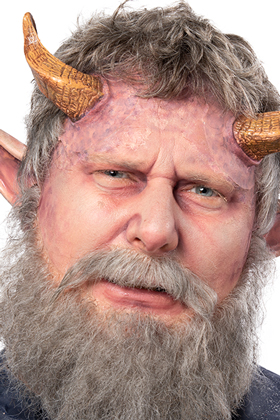
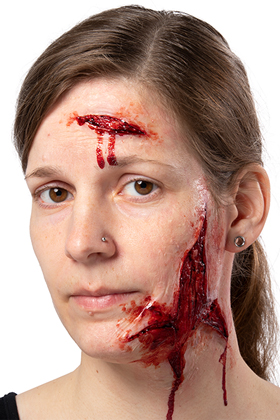
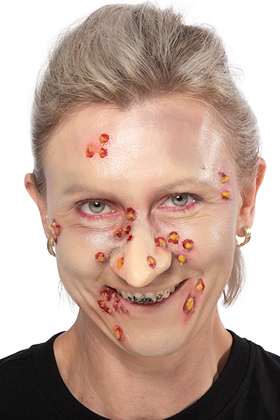
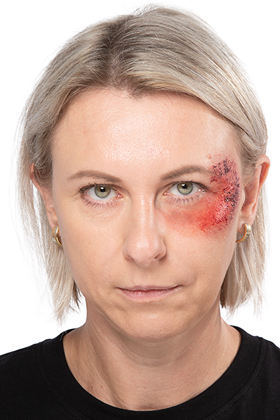
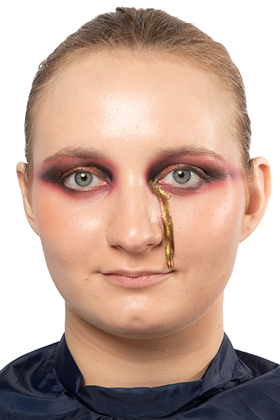
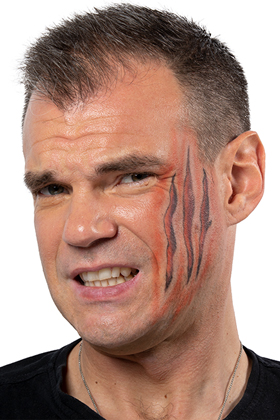
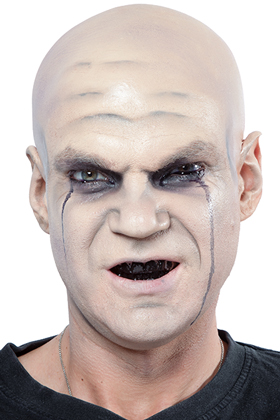
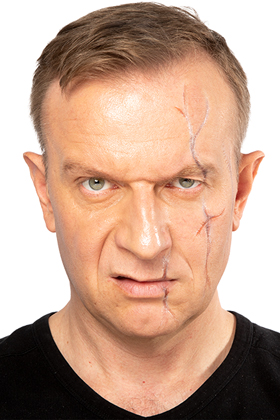
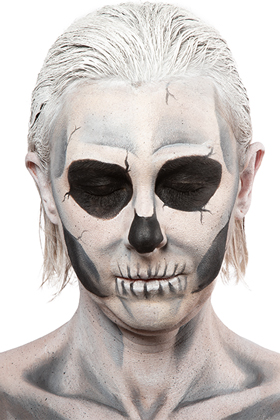
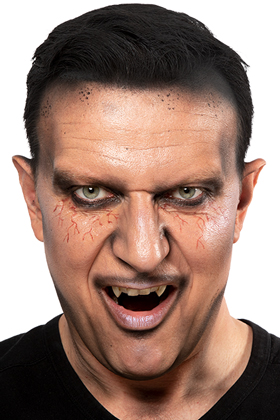
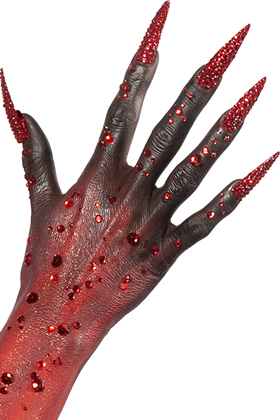
Kako da

Zombie

Before
The skin is first cleansed with Prirodna micelarna voda 120 ml.
Step 1
Brush through the eyebrow hairs with a Premium četkica za maskaru so that the hairs are separated and brought into a natural position.
Step 2
Using another Premium četkica za maskaru, pick up Pros-Aide - originalni - 15 ml. First, brush through the eyebrow hairs against the natural hair growth so that the adhesive is distributed under the hairs. Then brush the hairs back in the opposite direction, so they lie flat on the skin in their natural growth direction. Use your thumb or a Špatula za mešanje šminke to do this.
Step 3
Now cut off a small amount of Eyebrow Plastic vosak za obrve and warm it on a Pločica za blendovanje šminke. Then use a spatula to fill the Eyebrow Plastic vosak za obrve between the structures of the hairs so that the transition between the surrounding skin and the eyebrow area feels smooth. The fingers and thumb can also help work the wax into the skin to create a more natural transition between the product and the surrounding skin.
Step 4
Once the texture feels smooth over the brows, powder the Eyebrow Plastic vosak za obrve with Translucent puder 20 g (TL 1). This is pressed firmly onto the brow area with a powder puff, and the excess is removed with a clean powder brush.
Step 5
In this 5th step, the dark shadow caused by the hair is first corrected with Dermacolor Camouflage krema 4 g (D 32). The product is warmed and then applied to the eyebrow area to conceal the dark color.
Step 6
Now, the Translucent puder 20 g (TL 1) comes into play again. Powder the correction color with it. The excess is then removed with a powder brush before applying the skin tone color.
Step 7
TV Paint stik in the model's skin tone is then used to cover the eyebrows. Sweep the product over the brow area to achieve the desired tone.
Step 8
Use a soft brush to seamlessly blend the edges of the TV Paint stik into the surrounding natural skin.
Step 9
Artex is mixed in a 50:50 ratio of A and B. Both components should be transferred from their respective pots with a separate spatula to prevent the product from hardening in the pot. The two components are then mixed by incorporating one into the other with a spatula. The consistency of the mixture changes noticeably when it is ready for application. The silicone mixture is then applied to the neck with a spatula to create the effect of a cutthroat. Work the edges of the application into the skin to ensure a thin gradient between the natural skin and the silicone. The center of the application is then removed with the tip of the spatula to create a depression that creates the 3D effect of the wound.
Step 10
Now press a Gumeni sunđer, to which Perfect Matt was previously applied, over the Artex wounds to remove the shine from the surface.
Step 11
Pour BIC aktivator into the well of the Body Illustration Make-up set sa 18 boja (Flesh). Using a cut-down Glatzan brush, blend the appropriate colors of the palette to achieve a particularly realistic skin color. You may need to add some blues, reds, and greens from the Body Illustration Make-up set sa 18 boja (Bright) palette. The tips of the brush are then flicked through the forefinger using a stroking motion, and the color is sprayed onto the Artex and surrounding skin.
Step 12
Using a fine brush, mix colors from the Body Illustration Make-up set sa 18 boja (Bright) with BIC aktivator to add depth to the Artex wounds. Colors 079 and 080 help create the impression of lighter, red/exposed flesh, while 101 mixed with 080 and a bit 071 creates the intense effect of old, clotted blood in the hollows.
Step 13
Color the skin surrounding the wounds with Supracolor 8 ml (079) and Krug sa kremastim bojama (Bruise). Supracolor 8 ml (079) serves as a red base layer, while the deeper tones of the Krug sa kremastim bojama (Bruise) help to mottle and degrade the skin around the wounds, giving the effect an older look.
Step 14
A blend of the colors from Krug sa kremastim bojama (Bruise) is used to create the shading and "dirt" of the skin around the face and neck.
Step 15
In this step, Drying krv 50 ml (dark) is applied with a spatula in and around the wounds.
Step 16
Clean the saliva from the teeth with a tissue. While the mouth remains open, apply Boja za zube (nicotine). Translucency can be achieved by applying the color only once to the teeth or by mixing it with the Tooth Enamel in Clear. The mouth must remain open while the product dries completely.
Step 17
To enhance the "zombie" effect, Krv za oči 20 ml (yellow) and Krv za oči 20 ml (black) are now applied. To do this, the model must tilt his/her head back and look in the opposite direction of the side on which the make-up artist is standing. Using the eyedropper, carefully squeeze a drop of the eye blood onto the dermis. The eye blood begins to flow as soon as the model tilts her head forward.

Korišćeni proizvodi